
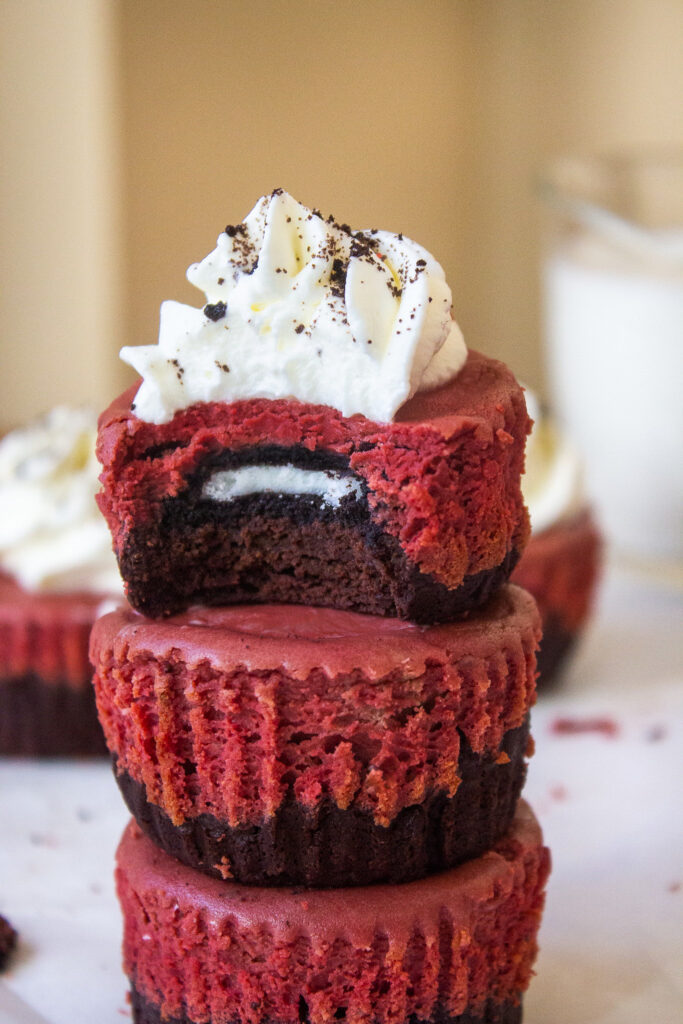
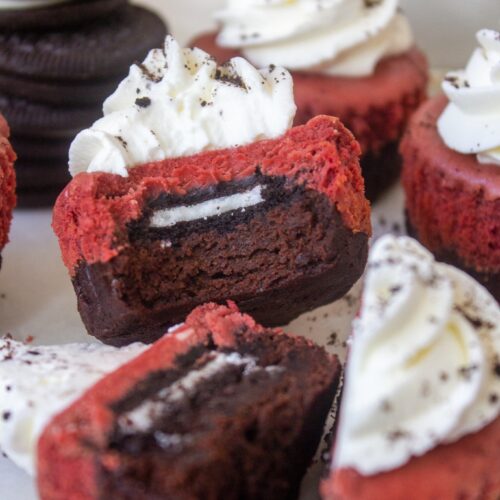
Bite-sized creamy mini red velvet cheesecakes! These have a fudgy thick brownie base, a soft cheesecake layer, and are stuffed with Oreo cookies. Each individual cheesecake is topped off with fresh sweetened whipped cream and a sprinkle of Oreo crumbs.
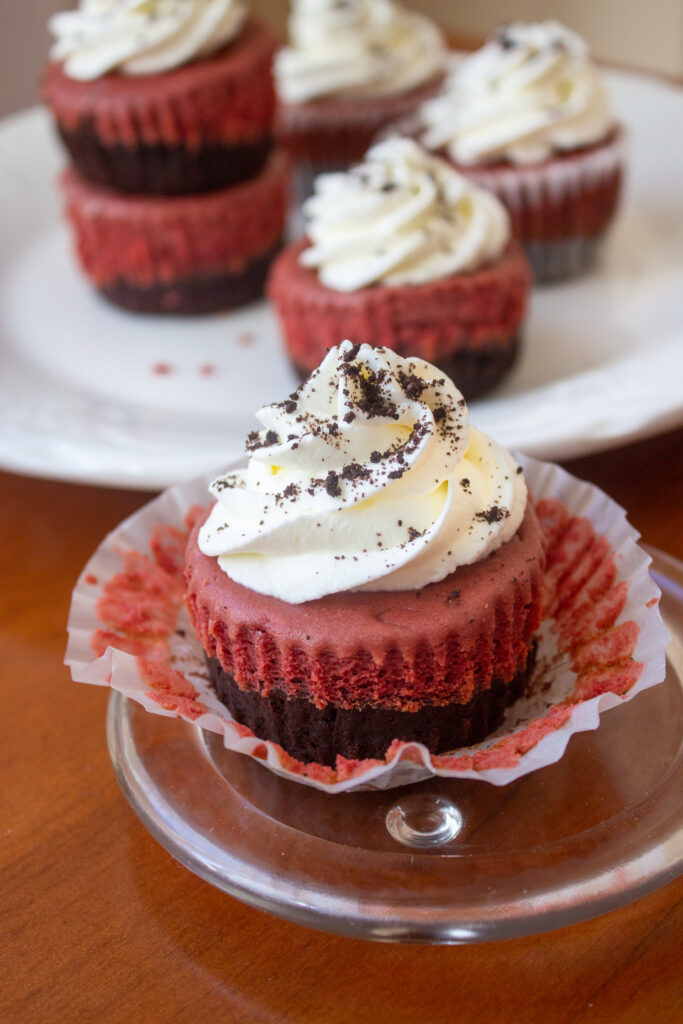
I feel like everything mini is just so much cuter! Including these mini red velvet cheesecakes. With Valentine's Day just around the corner, these are a delicious bake idea!
The cheesecakes have a fudgy brownie base that holds the cheesecake together. Then it get's layered with an Oreo, and red velvet cheesecake. It gets baked all together and is perfection!
Why you will love this Recipe
Brownies - The base of this recipe is a rich dense brownie. Who doesn't love chocolate!?
Red Velvet - The colour combination really puts you in the Valentine's Day spirits!
Oreos - A bite into these cheesecakes unveils an Oreo stuffed surprise!
Easy to make - Making cheesecakes may seem intimidating, but this recipe provides you with a step-by-step in detail.
Step by Step Instructions
Here is how to make and bake these red velvet oreo cheesecakes. You will need a muffin tin, a large mixing bowl, a spatula, a whisk, and a standard ice cream scoop.
Step 1 - Mix wet ingredients. In a bowl, whisk together egg and sugar until pale. Add in melted butter and continue whisking.
Step 2 - Add dry ingredients. Add in unsweetened cocoa powder and flour and fold with a spatula until just combined.


Step 3 - Divide the batter. I suggest using an ice cream/cookie scooper for this step. Make sure the bottom of each muffin liner is covered with the brownie batter.
Step 4 - Bake at 350°F for 5 minutes. Remove from the oven and then place an Oreo into the middle of each liner. Set aside.


Cheesecake Layer
Step 1 - Cream ingredients. Use a stand mixer to cream the cream cheese and white sugar. This takes a few minutes.
Step 2 - Add wet ingredients. Add the egg, vanilla, and sour cream, and continue mixing until a smooth cheesecake batter forms.
Step 3 - Add red food colouring. I used gel food colouring, but liquid works just as well! This is my favourite red gel food colouring that I find gives the best bang for your buck.
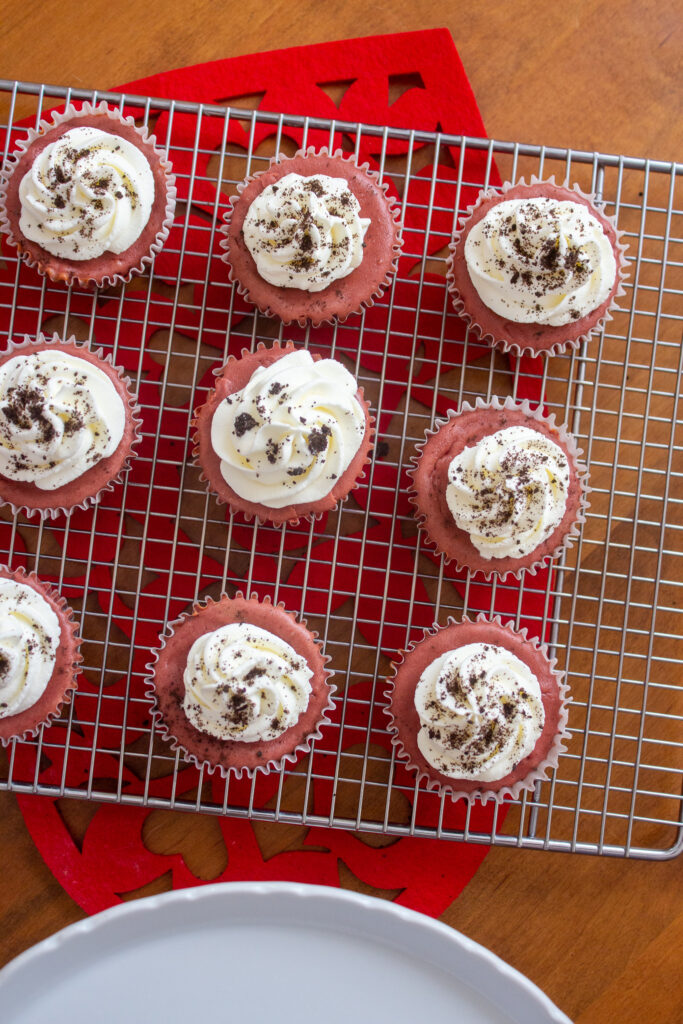
Step 4 - Spoon and fill. Divide each of the nine liners evenly.


Step 5 - Bake. You'll know the cheesecakes are ready when you lightly touch it and they don't stick to your fingers, and/or you'll see it begin to bubble.
Step 6 - Cool & whip. Once cooled, take some fresh sweetened whipped cream and pipe swirls on top. Add some extra Oreo crumbs and enjoy!
Storing & Freezing
When not eating, store these red velvet mini cheesecakes in the refridgerator in an airtight container. Do this without the whipped cream, and freshly add that on top when need be.
You may leave them in your fridge for up to five days.
You may freeze the cheesecakes by leaving them in an airtight container without the whipped cream. When ready to eat, place onto your counter to thaw thirty minutes in advance. These mini red velvet cheesecakes may stay frozen for up to two months.
FAQ
My cheesecake came out lumpy. Why?
For best results, all ingredients need to be at room temperature before beginning to bake! In this case the cream cheese was not soft enough, so lumps formed.
Can I use any kind of cream cheese?
I recommend full fat cream cheese. If you use low fat the consistency may become to watery.
Can I use box mix brownies instead?
Yes you may. Keep in mind that you will have a ton of brownie batter leftover though. Brownies from a box mix also turn out much lighter than these ones do, and have leavening agents that'll make them rise in the liners. These are important things to note if considering using a mix! This brownie recipe was created in mind as a thick, dense base for the cheesecakes so that's what I recommend you use. However, if you have brownie mix you need to use or want to skip a few steps, by all means go ahead.
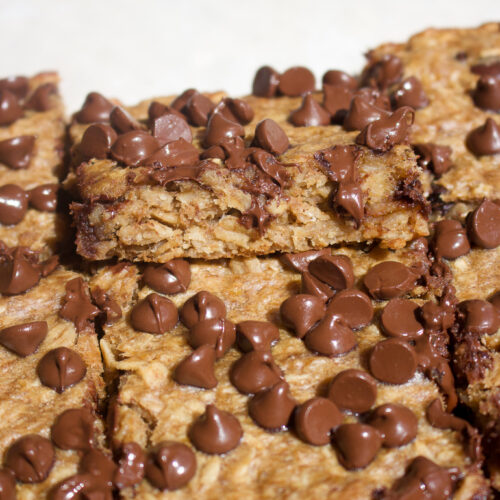
Check out these recipes

PS : If you enjoyed this recipe, please make sure to leave a STAR REVIEW down below! I'd love to stay connected on Instagram @taffeybakery! To get more recipes follow me on TikTok @taffeybakery!
Mini Red Velvet Cheesecakes
Ingredients
Brownie Base
- 1 egg room temperature
- 1/3 cup white sugar
- 1/4 cup butter melted
- 1/3 cup unsweetened cocoa powder
- 1/4 cup flour
Cheesecake Layer
- 8 oz cream cheese softened
- 1/4 cup white sugar
- 1 egg room temperature
- 2 tsps vanilla
- 1/4 cup sour cream room temperature
- 2 tbsps unsweetened cocoa powder
- 3 tsps red gel food colouring
Whipped Cream
- 1/2 cup heavy whipping cream I used 35%
- 3 tbsp white sugar
Instructions
Brownie Layer
- Preheat oven to 350°F and line a cupcake tin with nine liners.
- In a bowl whisk together egg and white sugar.1 egg, 1/3 cup white sugar
- Add in melted butter and continue whisking.1/4 cup butter
- Add the dry ingredients; flour and cocoa powder, into the bowl. Switch over to a spatula and fold until just combined. Batter will be thick.1/3 cup unsweetened cocoa powder, 1/4 cup flour
- Using two spoons or an ice cream scoop, divide the brownie batter evenly among the liners. Press down using your fingers or back of a spoon making sure the batter covers the entire bottom and is evenly spread out.
- Bake for 5 minutes then remove from the oven. Press an Oreo down gently into each liner. Set aside.
Cheesecake Layer
- Lower the oven temperature to 325°F.
- In a stand mixer with the whisk paddle attached, beat together the cream cheese and white sugar. This will take a few minutes.8 oz cream cheese, 1/4 cup white sugar
- Add in the egg, sour cream, and vanilla and continue on whisking. Make sure to scrap the bowl down every so often (a spatula works best for this).1 egg, 2 tsps vanilla, 1/4 cup sour cream
- Add in the cocoa powder. Then drop the food colouring in and mix until a smooth red colour appears.3 tsps red gel food colouring, 2 tbsps unsweetened cocoa powder
- Fill each of the muffin liners up to the top with batter. Since there is no leavening agent, this cheesecake does not rise so you don't have to worry about spillage.
- Tap the pan against the counter a few times gently to alleviate any air bubbles.
- Bake for 15-18 minutes. Keep a close eye after 12 minutes. You'll know it's ready when the cheesecake is soft to the touch but does not stick to your fingers.
- Allow to cool completely. This is necessary if piping whipped cream on top.
Whipped Cream Topping
- In a stand mixer or a handheld one, beat together the heavy whipping cream and white sugar on high until stiff peaks form. Stiff peaks means that the whipped cream stands up straight when the beaters are lifted. This usually takes 3-5 minutes.1/2 cup heavy whipping cream, 3 tbsp white sugar
- Transfer into a piping bag (I used a M1 tip) and pipe swirls onto cooled cheesecakes. You may also scoop onto the top if you do not have this equipment.
- Sprinkle crushed Oreos on top.
- Enjoy!


Comments