
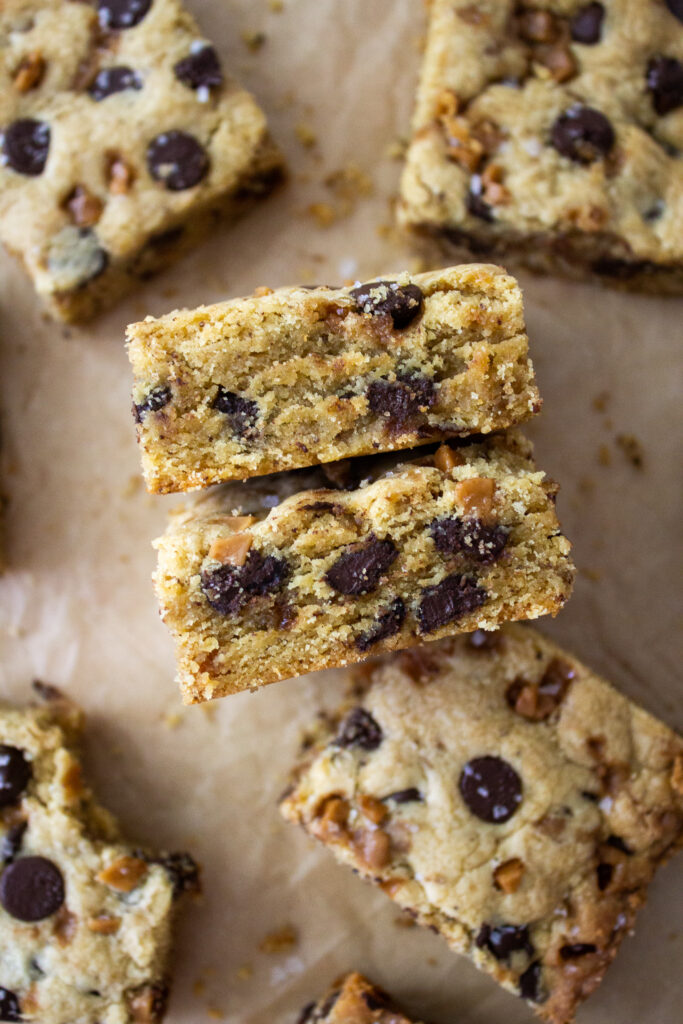
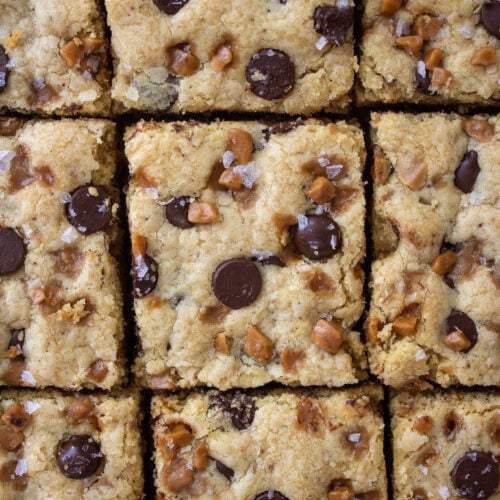
These are chewy and buttery blondies loaded with toffee pieces and chocolate. The brown butter adds a strong gourmet flavour and pairs perfectly with the toffee and chocolate! It's a basic blondie with a sweet and salty spin!
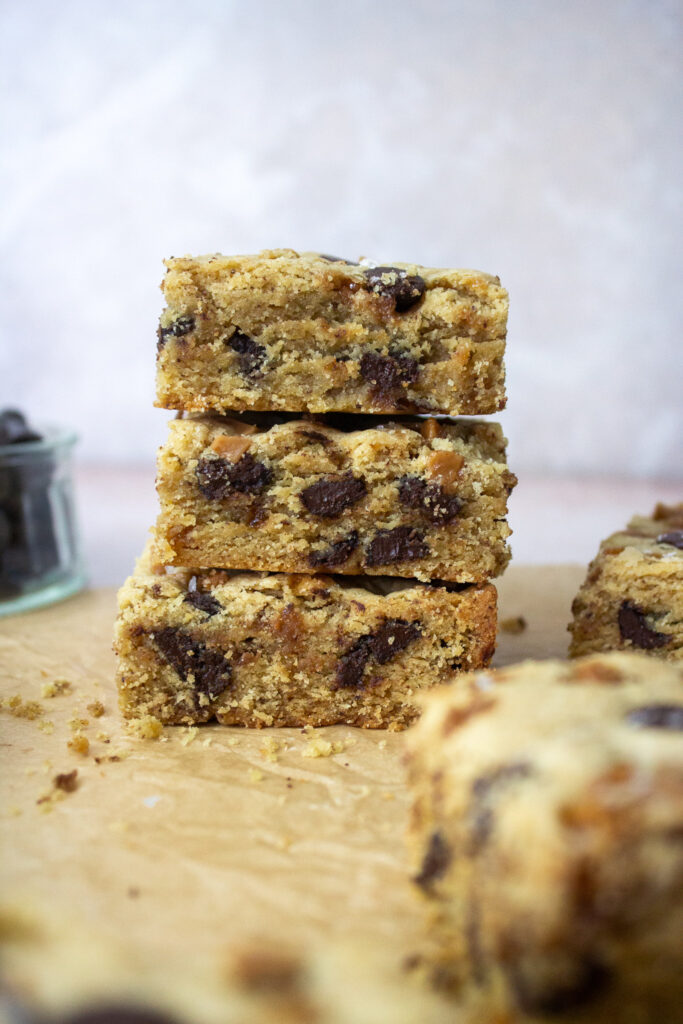
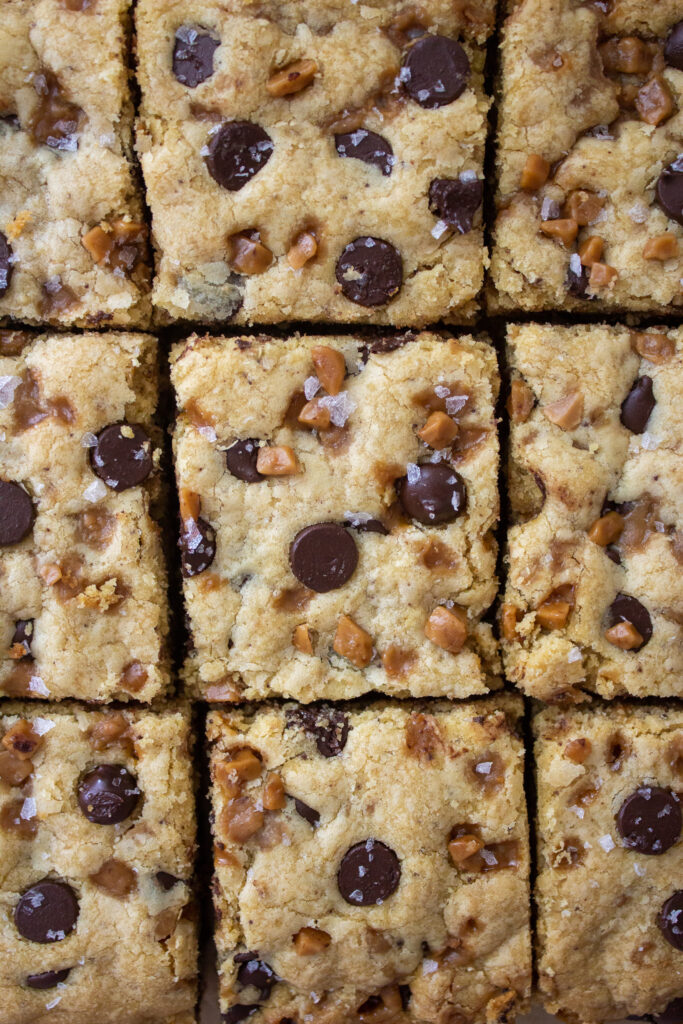
You will find hints of vanilla and tons of toffee flavour in these bars. Complimented by the dark chocolate, they're dangerously good!
The bars come together in a square pan and taste like a giant cookie bar. It's the kind of recipe you make when you're craving cookies but don't want to individually roll them out.
Key Ingredients
Scroll to view a few ingredients notes. Full recipe and measurements can be found in the recipe card below.
- Butter - Unsalted butter works best. This will be melted and browned.
- Eggs - Remove 2 hours before baking.
- Toffee - You can always make your own, but if you want store-bought I always use this one.
- Dark chocolate - I prefer using dark chocolate to compliment the sweetness from the toffee. You may use semi-sweet as well.
Step by step instructions
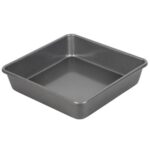
Here is how to make and bake these brown butter salted toffee blondies. You will need an 8×8 square pan lined with parchment paper, a large mixing bowl, a spatula, and a whisk.
Step 1 – Prep. Line the pan with parchment paper and set aside.
Step 2 - Whisk the butter and sugar. In a medium sized bowl, whisk the cooled browned butter and brown sugar for 2 minutes.
Step 3 - Add the eggs and vanilla. Add in the egg, egg yolk, and vanilla. Continue whisking for 2-3 minutes.


Step 4 - Add in the dry ingredients. Using a spatula, gently fold the dry ingredients into the wet ingredients. Once halfway mixed, add in dark chocolate and toffee bits. Mix until no dry streaks appear, but don't over-mix.


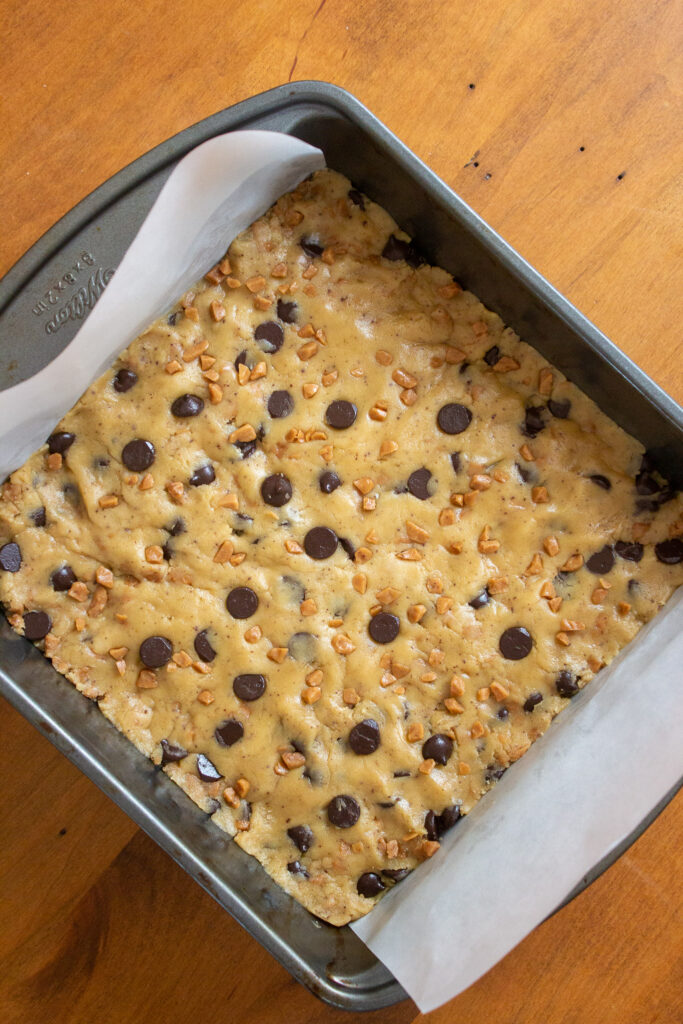
Step 5 - Spread and bake. Transfer the dough into the prepared pan and spread out evenly. Add extra toffee and chocolate pieces if desired. Bake for 25-27 minutes. The edges will be slightly golden brown.
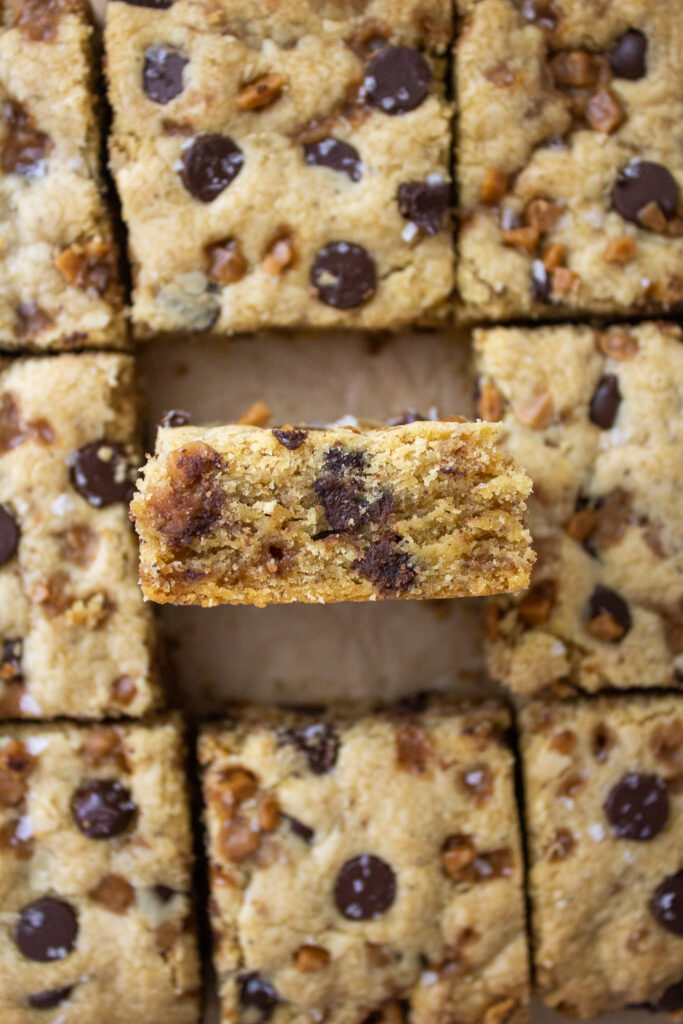
Step 6: Cut and serve. When the bars are done, let them cool for at least 20 minutes before slicing.
Storing & Freezing
Store these Salted Toffee Blondies in an airtight container at room temperature or in your fridge for up to 5 days.
PS : If you enjoyed this recipe, please make sure to leave a STAR REVIEW down below! I'd love to stay connected on Instagram @taffeybakery! To get more recipes follow me on TikTok @taffeybakery!
Brown Butter Salted Toffee Blondies
Ingredients
- 3/4 cups unsalted butter melted and browned
- 1/2 cup brown sugar
- 1 large egg room temperature
- 1 large egg yolk room temperature
- 1 tbsp vanilla
- 2 cups all-purpose flour
- 1 tbsp cornstarch
- 1 tsp baking powder
- 1/2 tsp salt
- 1/2 cup toffee bits
- 1/2 cup dark chocolate chips or semi-sweet
Instructions
- Preheat the oven to 350°F. Prep an 8x8 pan by lining with parchment paper and spraying with cooking spray. Set aside.
- In a saucepan over medium heat, melt your butter. Once melted, the butter will begin to foam. Continue stirring (don’t stop!) for 5-8 minutes. After this time, you’ll notice two things: browned specks at the bottom of your pan, and a nutty aroma that will fill the air. Remove from heat, transfer to a glass container and cool for 20 minutes before using.
- In a medium sized bowl, whisk the browned butter and sugar.3/4 cups unsalted butter, 1/2 cup brown sugar
- Add in egg, egg yolk, and vanilla and continue whisking for another minute until combined.1 large egg, 1 large egg yolk, 1 tbsp vanilla
- Switch to a spatula and fold in the flour, cornstarch, baking powder, and salt. Once nearly combined add in the dark chocolate, and toffee pieces. Mix until there are no more dry streaks.2 cups all-purpose flour, 1 tbsp cornstarch, 1 tsp baking powder, 1/2 tsp salt
- Transfer into prepared pan and spread evenly. Add extra dark chocolate and toffee pieces if desired.1/2 cup toffee bits, 1/2 cup dark chocolate chips
- Bake for 25-27 minutes or until a toothpick inserted comes out clean. The edges will have a slight golden brown look. Allow to cool in the pan for at least 20 minutes before slicing. Add a dash of sea salt on top for extra flavour! Enjoy!

Comments