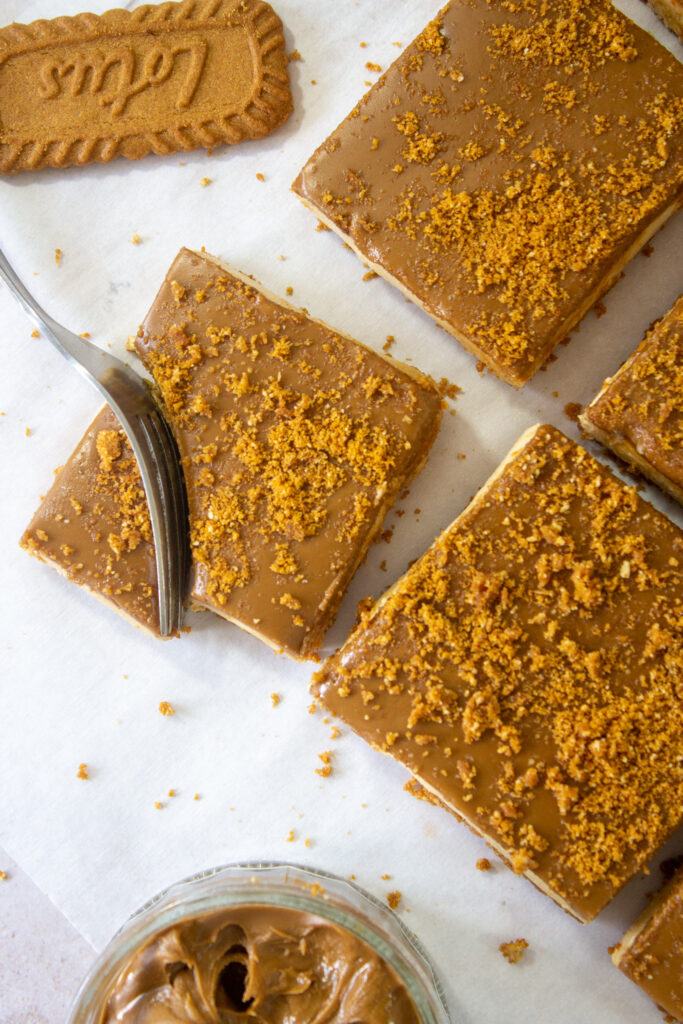
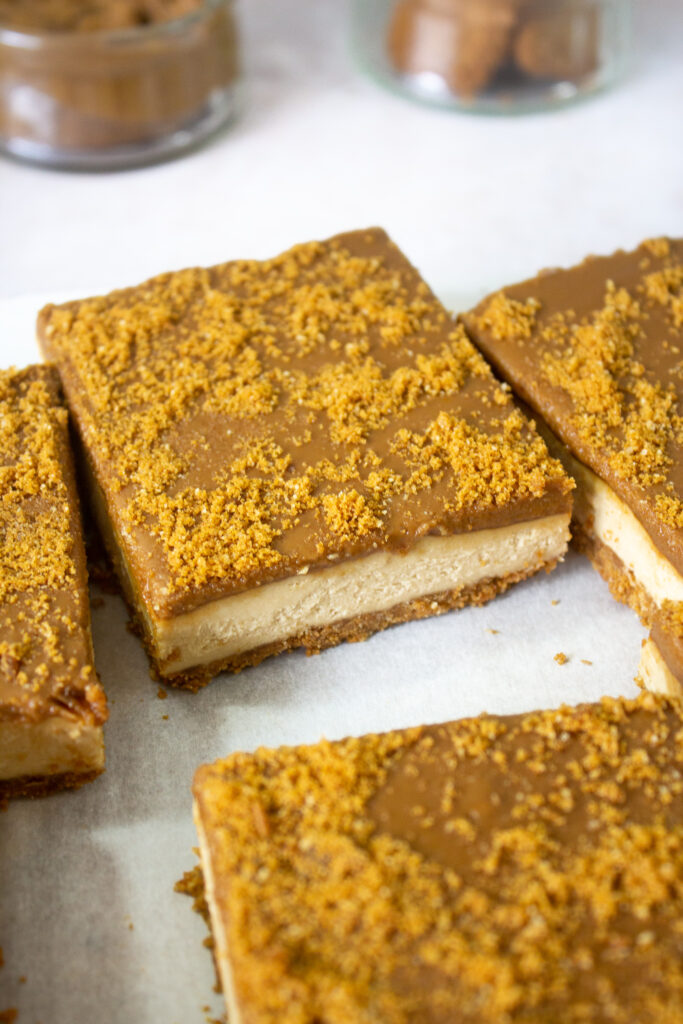
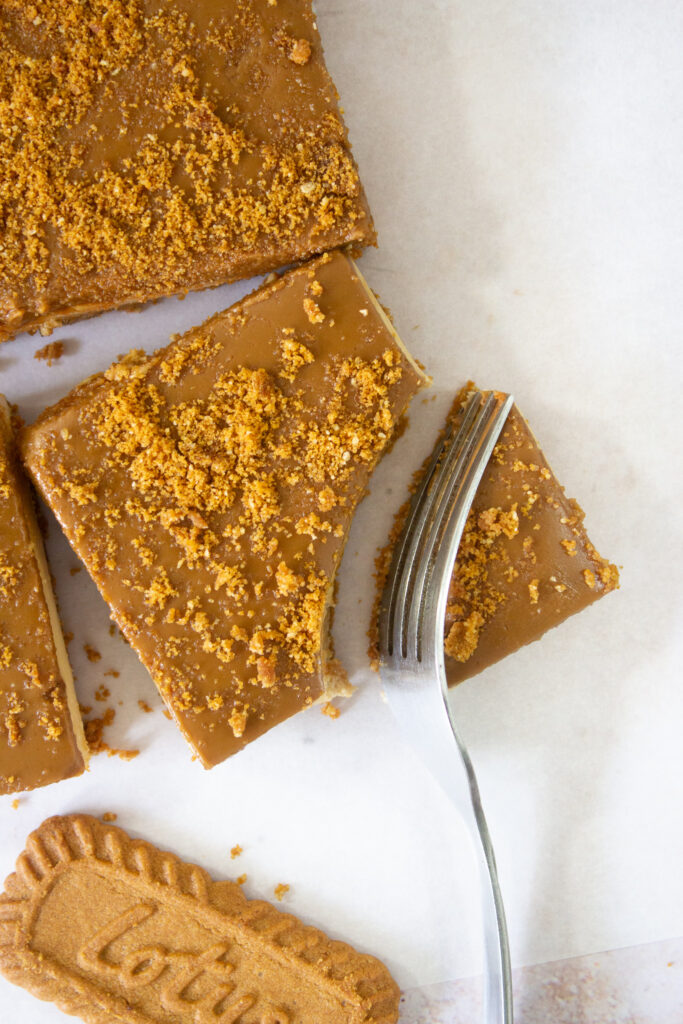
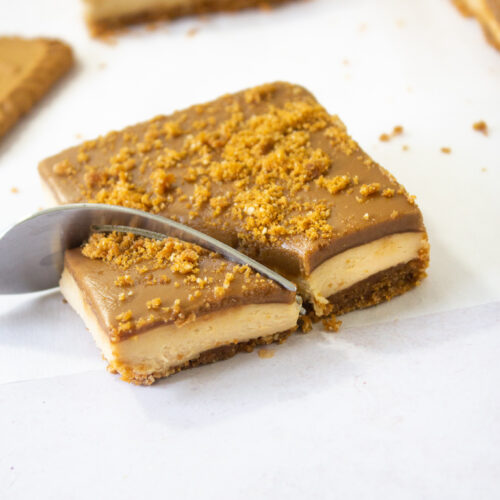
These Biscoff Cheesecake Bars are incredibly creamy and smooth. It comes together with only five ingredients and is a no bake recipe! There is a biscoff cookie base and cheesecake layer with biscoff spread. A melted biscoff layer is poured on top, and it's finished with a sprinkle of biscoff crumbs. If you love biscoff, you will love this recipe!
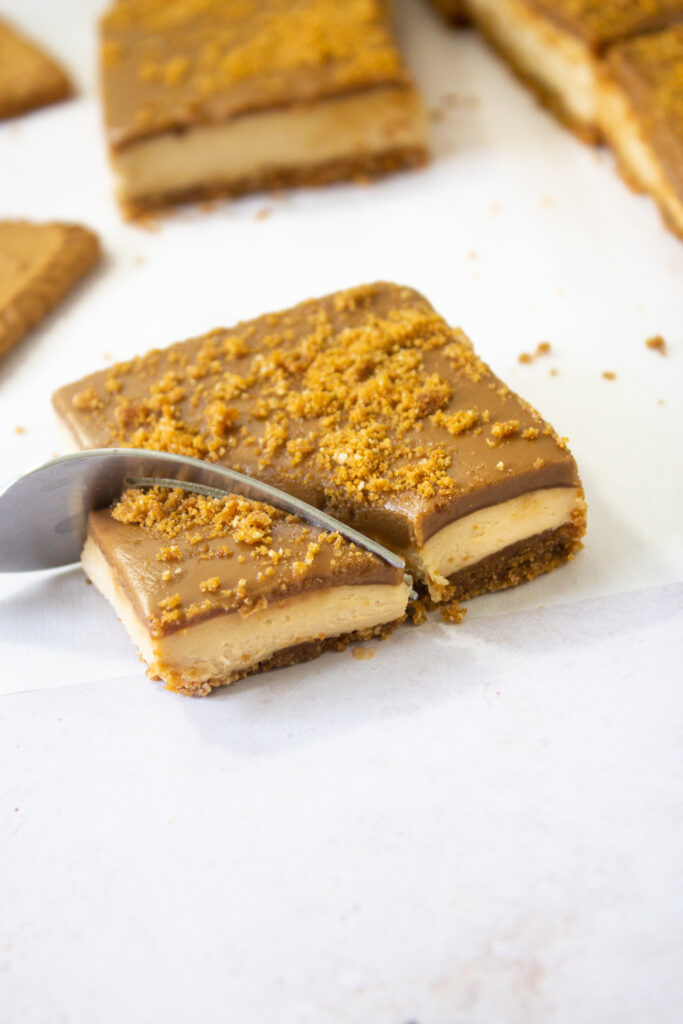
No bake cheesecakes are the way to go with this summer heat! This cheesecake is extra creamy thanks to all the biscoff.
My favourite part about this recipe is the combinations of flavours. The decadent, rich, and slightly tangy cheesecake filling is paired wonderfully with sweet, spiced cookie butter.
This cheesecake incorporates the delicious flavour of biscoff cookie butter in every layer! If you know someone who is a fan of cookie butter or biscoff cookies, they will love this cheesecake!
For more simple recipes try No Bake Oatmeal Chocolate Bars, Biscoff Brownies, or Black Forest Cheesecake Brownies.
Jump to:
Why this recipe works
Easy to make - only 5 ingredients!
Biscoff - both cookies and the spread are used in this recipe.
Crowd pleaser - a great treat to make for your next dinner party.
No bake - perfect for the summer heat.
Super creamy - these bars are so rich and flavourful! The cream cheese and biscoff make it extra creamy.
Key Ingredients
Full recipe and ingredients are in the recipe card below. Feel free to scroll through this section to view the five ingredients we’re using!
Cream Cheese - I use regular full fat. Remove from fridge 2 hours before baking.
Biscoff spread - Make sure you use smooth and not crunchy. Nearly an entire jar is needed!
Biscoff cookies - These cookies will be crushed into fine crumbs and used primarily for the base, with a bit left over for the topping.
Butter - This will be melted and mixed with the biscoff cookies for the base.
Icing sugar - This is also known as powdered sugar. Do not use granulated sugar.
Step by Step Instructions
Here is how to make and bake these 5 Ingredient No Bake Biscoff Cheesecake Bars. You will need an 8×8 square pan lined with parchment paper, a large mixing bowl, a spatula, and a whisk.
Step 1: Using a food processor, crush up the biscoff cookies. Transfer them into the bowl. Add the melted butter and mix well.
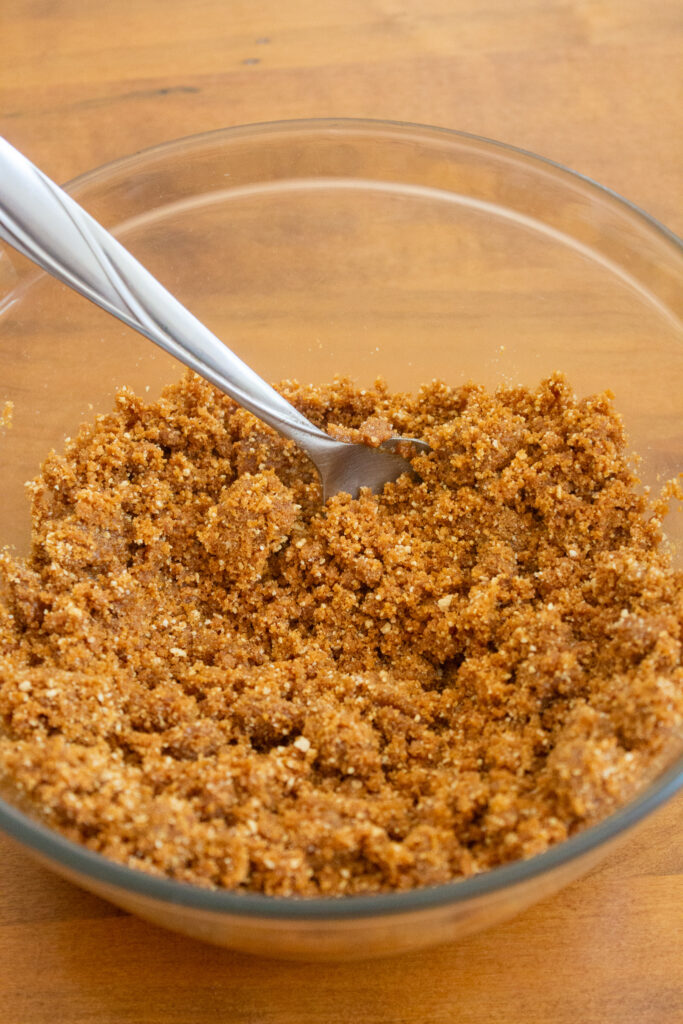
Step 2: Prepare an 8x8 inch square baking pan with parchment paper or foil (lightly grease if it's foil) and press the cookie crumble mixture into the base of the pan.
Step 3: In a large food processor blend the cream cheese and biscoff spread until smooth. Add in the icing sugar and continue mixing.


Step 4: Transfer the cheesecake base into the pan and spread evenly. Melt 3/4 cups of biscoff spread and pour on top. Sprinkle more cookie crumbs.


Step 5: Chill in the fridge for minimum 4 hours or overnight. Keep refrigerated when not serving. Enjoy!
Expert Baking Tips
Here are five awesome baking tips from my kitchen to yours
You may use a large food processor, handheld mixer, or stand mixer to make the cheesecake portion. I personally prefer a food processor but it's up to you! You cannot make this recipe by hand.
The base texture should not be sticky, but not soggy. If it’s sticking to your spoon while you’re trying to push it into your prepared pan then there’s not enough butter.
When blending the ingredients, scrap the bowl down a few times in between.
Once poured, tilt the pan around to spread the melted biscoff. I find this the most effective when trying to achieve straight and even layers!
Keep the cheesecake refrigerated when not serving!
FAQ
What does softened cream cheese mean? Isn’t cream cheese already soft to begin with?
Technically yes! You aren’t wrong. By softened cream cheese I mean room temperature cream cheese. Make sure you take it out of the fridge 2 hours minimum before baking.
How do I store these Biscoff Cheesecake Bars?
When not being eaten, these bars must be kept in the fridge. Store in an airtight container for up to 3 days.
Can I make these ahead of time?
Yes, but the bars taste best when they’re made on the same day they are eaten.
My base is falling apart!?
This means there is too little butter. Mixing in an extra tbsp should help.
Storing & Freezing
You may store these cheesecake bars in the fridge while not consuming for up to three days in an airtight container!
I don't recommend freezing the bars, as they are best eaten fresh.
Other recipes to try
- Brown Butter Chocolate Chip Muffins
- Brown Butter Peanut Butter Oatmeal Cookies
- Morning Glory Cake
- Cinnamon Roll Crumb Bars
PS : If you enjoyed this recipe, please make sure to leave a STAR REVIEW down below! I'd love to stay connected on Instagram @taffeybakery! To get more recipes follow me on TikTok @taffeybakery!
Biscoff Cheesecake Bars
Ingredients
Biscoff Base
- 1 + 1/2 cups biscoff cookies finely crushed
- 1/4 cup butter melted
Cheesecake Layer
- 16 oz cream cheese softened
- 1/2 cup biscoff
- 3/4 cups powdered sugar
Biscoff Spread Topping
- 3/4 cups biscoff melted
- 2 biscoff cookies crushed
Instructions
- Using a food processor grind the biscoff cookies into fine crumbs. Add into a large bowl with melted butter and mix.1 + 1/2 cups biscoff cookies, 1/4 cup butter
- Prepare the 8x8 square pan by lining it with parchment paper or foil (If using foil, grease gently).
- Place the crumb mixture into the pan and press down firmly, forming a base.
- Into a large food processor, add the cream cheese and biscoff spread and blend until combined. Add in the icing sugar and continue mixing.16 oz cream cheese, 1/2 cup biscoff, 3/4 cups powdered sugar
- Place this on top of the base and gently spread. You don't want to disturb the base layer.
- Melt the biscoff spread using a double boiler method, or in a microwave at 15 second intervals stirring in between.3/4 cups biscoff
- Pour the spread on top of the cheesecake layer and gently tilt the pan around the distribute a thin even layer. You may also use a spatula to spread it out, but I find that tilting the pan works best.
- Top off with additional biscoff crumbs.2 biscoff cookies
- Place into the refrigerator to set for minimum 4 hours, best overnight. Store in the fridge when not consuming, in an airtight container for up to 3 days. Enjoy!

Carrie says
So good. This recipe is amazing! 😍
Ania says
Thanks Carrie for the sweet comment! I'm so glad you enjoy it!! 🙂